Create Volume
Block Storage Volumes
Block storage volumes provide scalable NVMe SSD storage that can be attached to virtual machines, offering additional capacity for your data. Once attached, you can manually format and mount the volume to extend your VM's storage.
Cuemby Cloud simplifies the deployment and management of Block Storage, enabling users to scale and adapt their infrastructure based on demand. This guide will walk you through the process of creating and attaching a block storage volume using Cuemby Cloud.
Creating a Block Storage Volume on Cuemby Cloud
- From the left-hand menu, click on the Volumes tab.
- You will be redirected to the Create Volume page.

- To create a block storage volume, click on the Create Volume icon located inside the modal of the Volumes page. This will open the Volume creation page
Assign to a Project
Assign the block storage volume to one of your projects to organize and manage resources effectively.

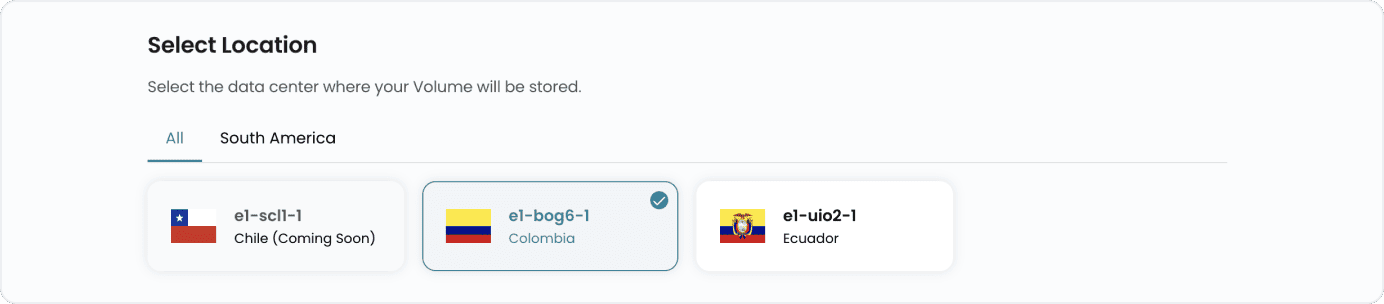
Choose a Location
- Select the data center location where your server will be physically hosted.
- Choose from the available locations listed.
Choose Instance
- Select the virtual machine instance to which you want this block storage volume to be attached.

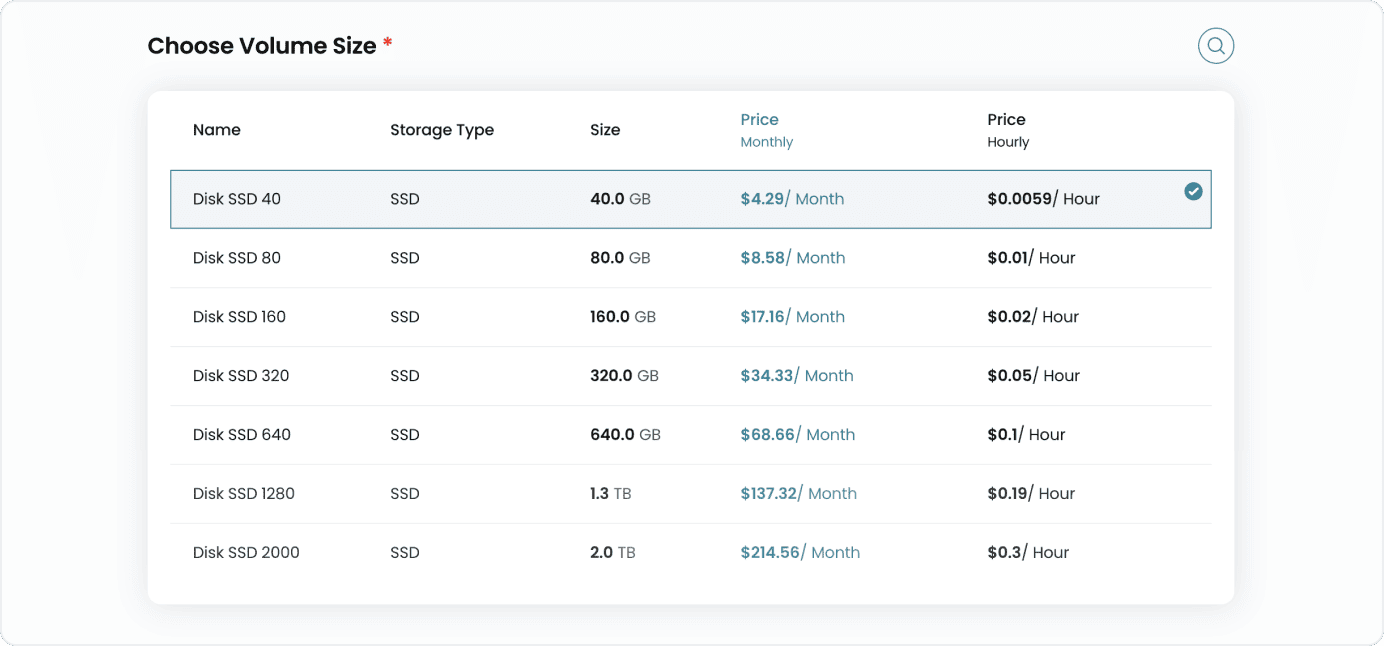
Select Volume Size
- Select a volume size based on your requirements like Storage Type and Size. You can also create a custom volume if needed.
- These are some available options and their plans:
Choose Volume Name
- Provide a unique Volume Name for your volume to identify it easily in your dashboard.

Conclusion
By following this guide, you can easily create and manage block storage volumes on Cuemby Cloud. These volumes provide scalable and high-performance storage solutions for your virtual machines, enabling you to meet your data storage needs efficiently. For further assistance, refer to the Cuemby Cloud documentation or reach out to support.